So whether or not facials were part of your routine before we became quarantined in our homes, now is as good of a time as any to give yourself an at-home facial! I promise your skin will thank you, and worst-case scenario, you have an easy way to kill 30 minutes.
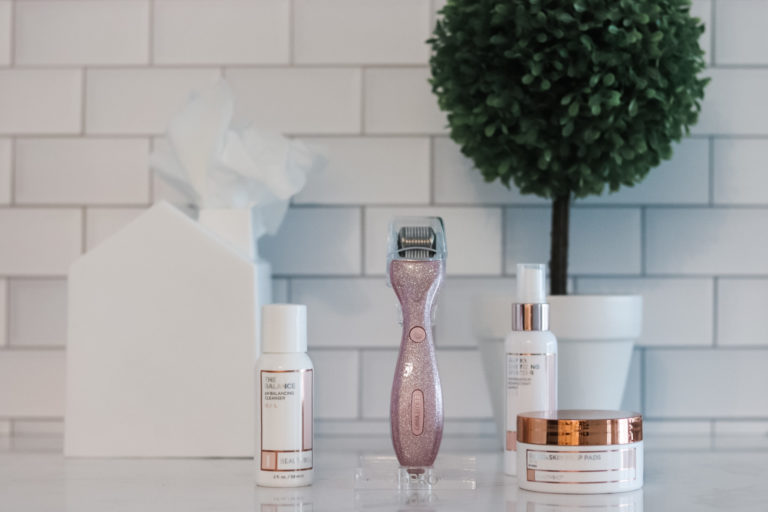
STEP 1: DOUBLE CLEANSE
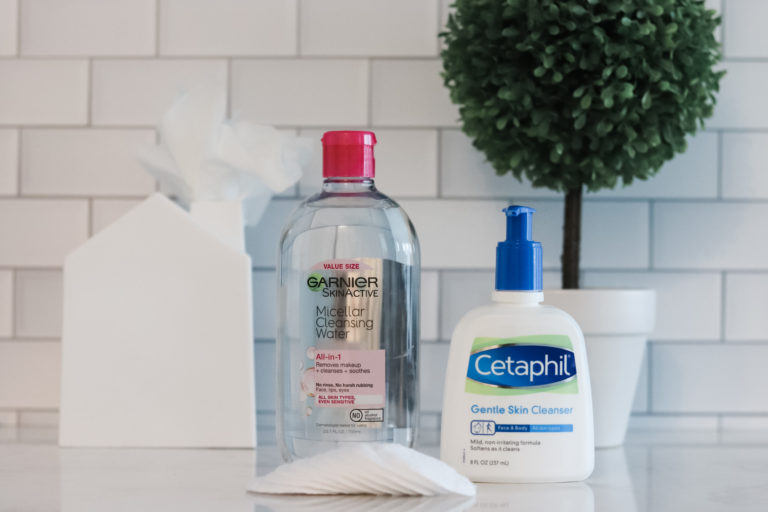
Even though this is already a part of my everyday skincare routine (check out this post to learn more), it is critical to double cleanse when you are going to be applying treatments to your face. I start by removing any makeup or dirt/pollution with the Garnier Micellar Cleansing Water and follow up with the Cetaphil Gentle Cleanser to make sure I get everything!
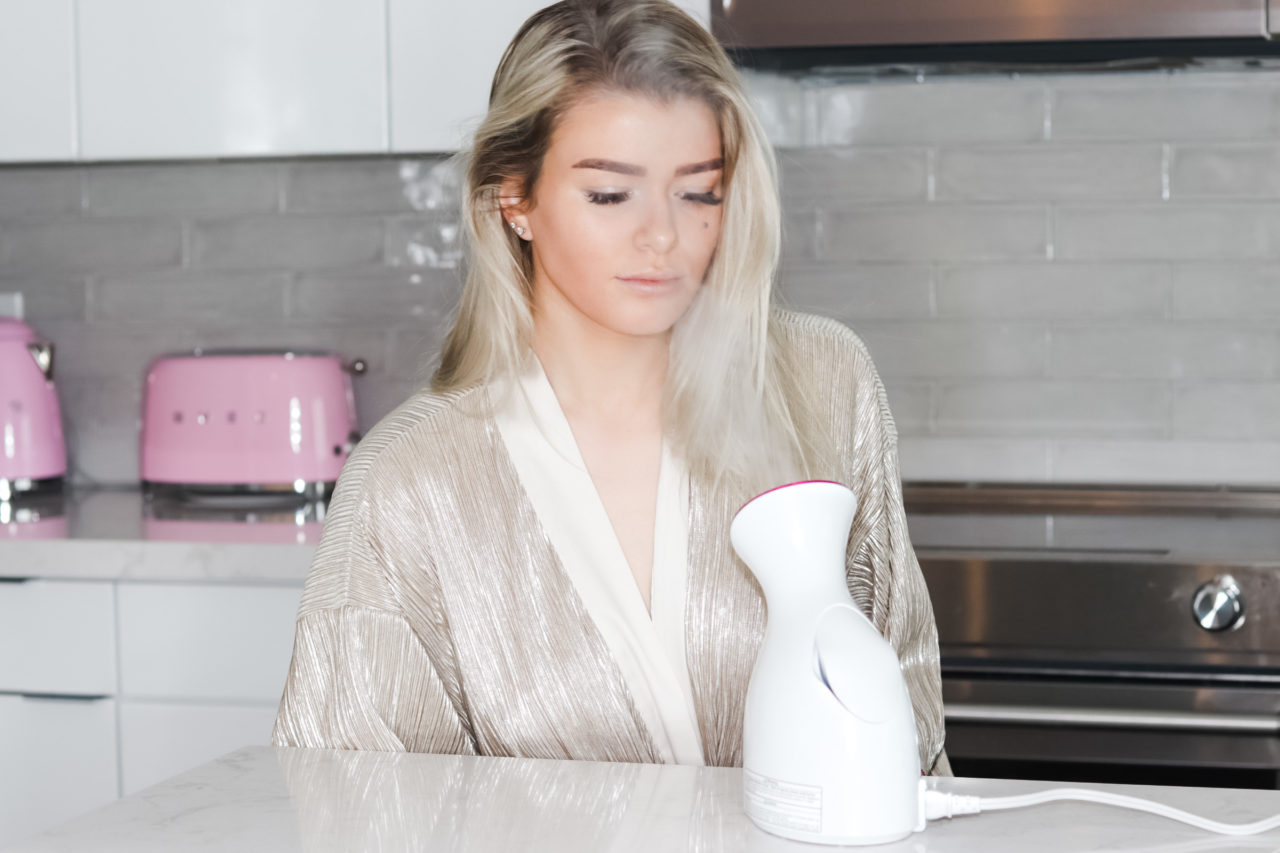
STEP 2: STEAM

Steaming your skin isn’t just for fancy salon facials, you can easily do this at home. You can simply turn your shower up to the hottest temperature, or you can truly commit and purchase a facial steamer. When I first jumped on board this trend, I bought an inexpensive facial steamer from Amazon, which was a step up from standing in a hot shower but was hard to clean and did a substandard job at producing steam. I finally splurged and invested in a Panasonic Nano Facial Steamer, and I am in love. The one that I have is no longer available, but as an alternative, I recommend this one from Dr. Dennis Gross. This step opens up your pores and loosens the buildup of dirt for both a deeper cleanse and softens blackheads. Furthermore, it promotes circulation and by dilating your blood vessels.
STEP 3: DERMAPLANING
One of the most effective ways of exfoliating your face, dermaplaning scrapes the top layer of dead skin cells to reveal a smoother, brighter complexion. I started by using these Tinkle Face Razors, but I found they were breaking me out, so I invested in a Dermaflash, which comes with disposable blades that aren’t exposed to any bacteria before you attach them to the device. It is important to be gentle and hold the tool at a 45-degree angle using downward motions.
STEP 4: FACE PEEL
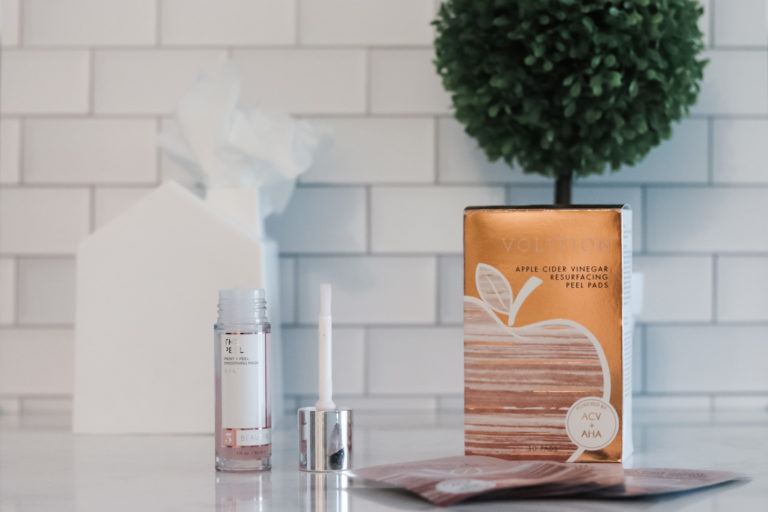
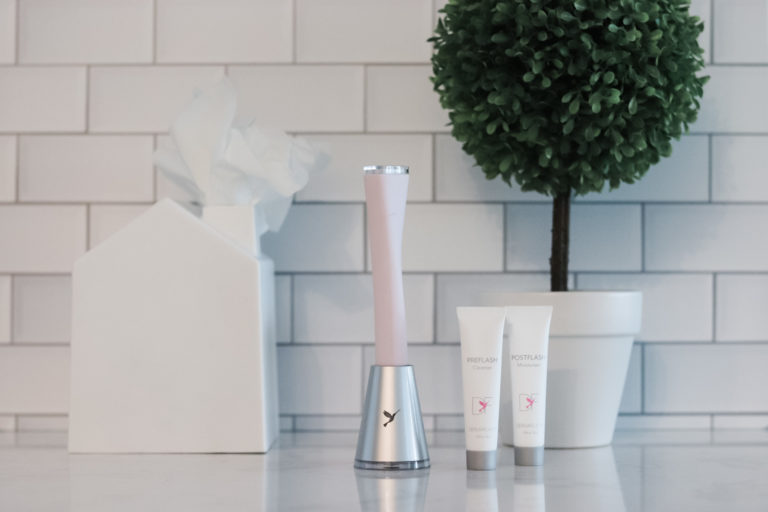
To make sure I’ve entirely removed all of the dead skin cells from my face, I follow up with BeautyBio’s ‘The Peel’. To learn more about this product and see how it works, check out my Instagram Post. If I don’t have 20 minutes to kill to wait for this to dry, I like using the Volition Apple Cider Vinegar Resurfacing Peel Pads! Combining a physical (dermaplaning) and chemical exfoliator, you have effectively removed all of the dead skin from your epidermis, allowing the next steps to better sink into your dermis (lower layer of your skin where acne forms).
STEP 5: SHEET MASK
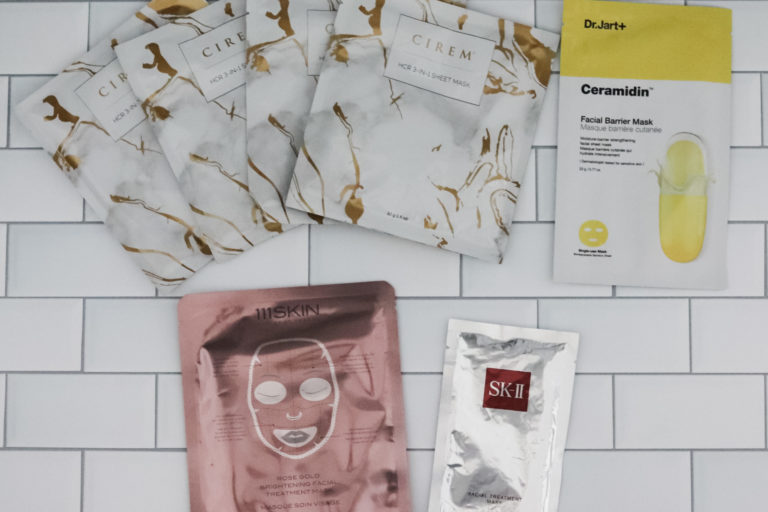
Now, this is where my routine varies! Depending on what my skin needs, I choose a sheet mask that applies best. Some of my favorites include the Cirem HCR 3-in-1 Sheet Mask (pricey, but soooo worth it), Dr. Jart Ceramidin Facial Barrier Mask, 111SKIN Rose Gold Brightening Facial Treatment Mask, and SK-II Facial Treatment Mask. Comment down below if y’all would like to see a post all about sheet masks!
STEP 6: MICRONEEDLING
I could write a whole blog post about Microneedling, but for the sake of your attention span, I’ll cut to the chase. This painless treatment helps to smooth the appearance of fine lines and wrinkles, but more importantly (at least at my age), it helps enhance topical skincare absorption. I use BeautyBio’s GloPro, which is different than cheaper alternatives due to its vibrating feature and included red light therapy.
STEP 7: TREAT + MOISTURIZE

Just like the sheet mask, this is where you can choose a serum and moisturizer that best suits your needs. After doing all of that exfoliation, I like to use the iS Clinical Hydra-Cool Serum, followed by the iS Clinical Sheald Recovery Balm, helping my skin recover and regenerate new healthy skin cells.
And there you have it, folks! Look in the mirror to check out your glowy skin then head back to your couch to continue binging Netflix shows until we are finally allowed to come within 6 feet of other humans again!

No Comments